Raspberry Pi Zero Headless Setup


As I described in this post how to run a Raspberry Pi Zero headless this came with some issues after I updated to the latest version (After April 2022).
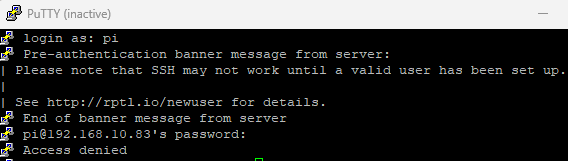
If you ran into the same issue you need to follow the newest headless setup tutorial.
Headless setup
with Raspberry Pi Imager
I followed the official instructions, which is why I will only briefly describe the individual steps in the following.
Instructions:
First of all, download the latest version of the Raspberry Pi Imager and install the software and run it. Choose your OS, SD-Card and click on "Advanced Options"
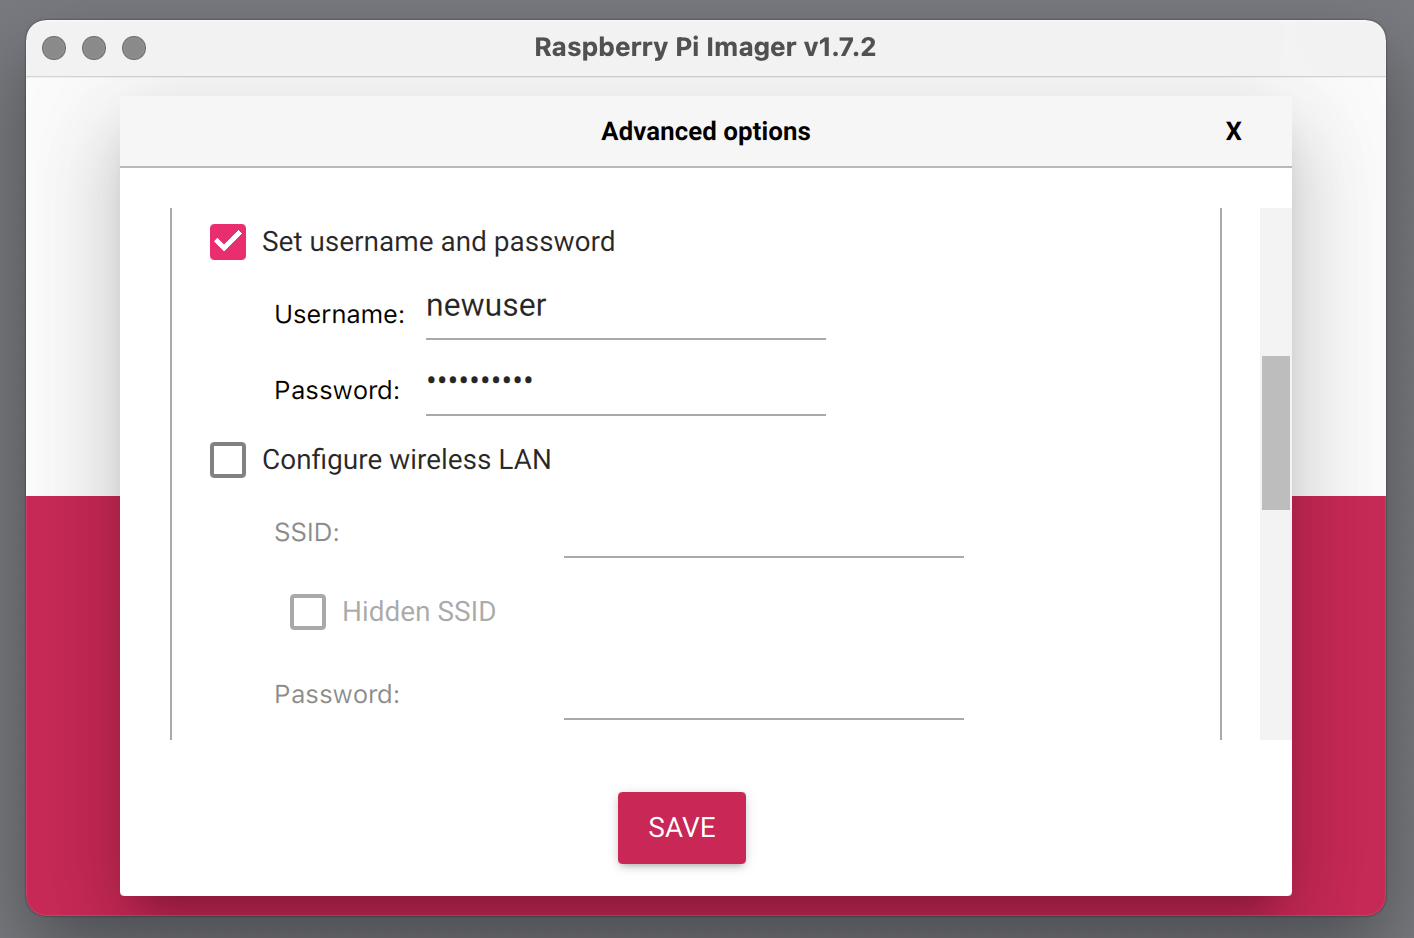
To preconfigure an image like this, when you have selected the source image and destination in Imager, click the “settings” button – the picture of a cogwheel – before clicking “Write”, and use the Advanced options menu to enter a username and password, along with any other preconfiguration you want.
There are also mechanisms to preconfigure an image without using Imager but i won't go in further detail how to do that since the Imager solution is very easy to use and IMO faster to do since there is a user interface to do all that.